(Hey! Some links in this post may be affiliate links — meaning I may earn a small commission if you buy through them, at no extra cost to you. As an Amazon Associate, I earn from qualifying purchases. I only share products I genuinely love and think you’ll find useful too. Read the full disclosure here).
I’m so excited to share this spook-tacular dessert that turns classic campfire snacks into a festive Halloween masterpiece! Imagine melty chocolate, crispy graham crackers, and marshmallows transformed into adorable edible ghosts – all ready in under 10 minutes. It’s the perfect way to add magic to your holiday gathering without spending hours in the kitchen.
What makes this recipe a game-changer? Your trusty countertop appliance does all the heavy lifting! No need to build a fire or wait for the oven to preheat. You’ll get that ideal golden-brown toast on your marshmallows every time, with that irresistible gooey center we all love. Plus, the ghost-shaped toppings make these treats almost too cute to eat (almost!).
Whether you’re hosting a monster mash or craving a cozy family night, these playful bites deliver nostalgia and novelty in every gooey bite. I’ve tested this method repeatedly, and trust me – even first-time cooks will look like kitchen wizards. The best part? You can swap the ghost shapes for pumpkins, bats, or hearts to enjoy this recipe year-round!
Ready to create edible magic? Let’s dive into this simple yet showstopping treat that’ll have everyone chanting for s’more!
Contents
Introduction to Spooky Air Fryer S’mores
Picture this: Your kitchen filled with giggles and the sweet aroma of toasted treats, all without lighting a single match! This clever twist on classic campfire snacks combines nostalgia with festive flair – perfect for creating those “I can’t believe you made this!” moments at your Halloween gathering.
Why This Treat Steals the Show
Those adorable ghost-shaped marshmallows? Pure edible magic! They transform ordinary ingredients into a playful centerpiece that’ll have guests snapping photos before taking their first bite. I love how this idea turns a simple dessert into an interactive experience – everyone gathers ’round to dip graham crackers into the warm, gooey goodness!
Kitchen Wizardry Made Simple
Here’s the secret: Your countertop appliance works like a culinary wand! Its rapid hot air circulation creates that ideal golden crunch on marshmallows while keeping centers deliciously molten. No babysitting flames or waiting for ovens – just set it and forget it!
“The speed amazes me every time – ready before the kids finish their ‘trick or treat’ chants!”
Best part? This crowd-pleaser adapts effortlessly. Swap ghost toppers for pumpkin shapes in November or heart candies in February. Once you try this method, you’ll find excuses to make it all year – though there’s something extra special about that hauntingly delicious Halloween version!
Ingredients and Equipment Essentials
Gathering your supplies for this recipe feels like casting a spell – simple components transform into pure magic! Let’s break down what you’ll need to create these crowd-pleasing treats.
Key Ingredients and Their Roles
Three superstar elements make this recipe shine! Semi-sweet chocolate chips melt into velvety pools – their rich flavor balances the sweetness perfectly. Ghost-shaped marshmallows aren’t just adorable; their texture toasts beautifully while holding their spooky shape.
Crunchy graham crackers serve double duty: they’re both the base for serving and ideal for scooping up melted goodness. Pro tip? Snap them along pre-scored lines before toasting for easy sharing!
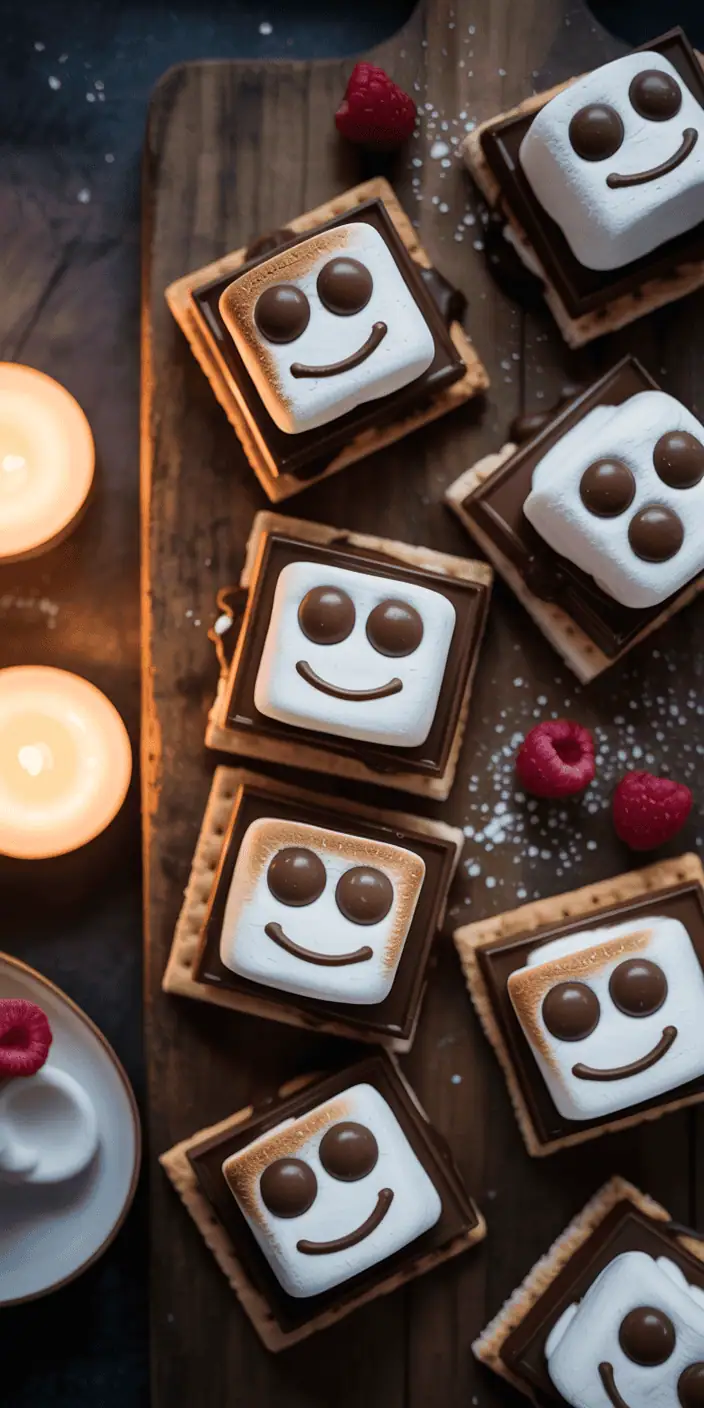
Those optional mini chocolate chips? They’re my secret weapon! Press them into warm marshmallows post-cooking to recreate ghost faces that might’ve melted away.
Must-Have Kitchen Equipment
Your trusty countertop appliance does all the heavy lifting here! Any oven-safe dish that fits in the basket works – I’ve used pie plates, ramekins, even mini skillets with great results.
No special tools required! If your bakeware survives the oven, it’ll handle the fryer’s heat. Just ensure your chosen container leaves enough space for air circulation – about 1-inch clearance around the edges works best.
Step-by-Step Preparation Guide
Let’s turn your kitchen into a spooky dessert lab! This foolproof method delivers golden results in record time – we’re talking under 10 minutes from start to gooey finish. I’ll walk you through each stage to ensure your treats come out picture-perfect every time.
Prepping Your Dish for Success
First things first: grab that nonstick spray! A generous coating prevents chocolate from sticking to your bakeware. Spread semi-sweet chips evenly across the bottom – this creates a molten pool for dipping. Now the fun part: arrange those ghostly toppers in a single layer with space between them. They’ll puff up like little edible clouds!
Mastering the Toast
Pop your dish into the preheated appliance at 350°F. Set a timer for 5 minutes – that’s when the magic starts happening. Peek through the basket to watch marshmallows transform from pale white to caramel-kissed perfection. Need more browning? Add 1-2 extra minutes, but stay close!
| Method | Temperature | Time | Result |
|---|---|---|---|
| Batch Preparation | 350°F | 5-7 min | Shareable dip |
| Individual Servings | 375°F | 2-3 min | Portioned treats |
For single servings, layer graham crackers directly in the basket. Top with chocolate pieces and marshmallow shapes, then let the appliance work its quick-cook wonders. You’ll have melty, crispy delights faster than you can say “Boo!“
Air Fryer Ghostly Marshmallow S’mores
Let’s unlock the secrets to creating this showstopping dessert! This foolproof method delivers golden-brown perfection every time – I’ll walk you through each step like we’re cooking together in my kitchen.
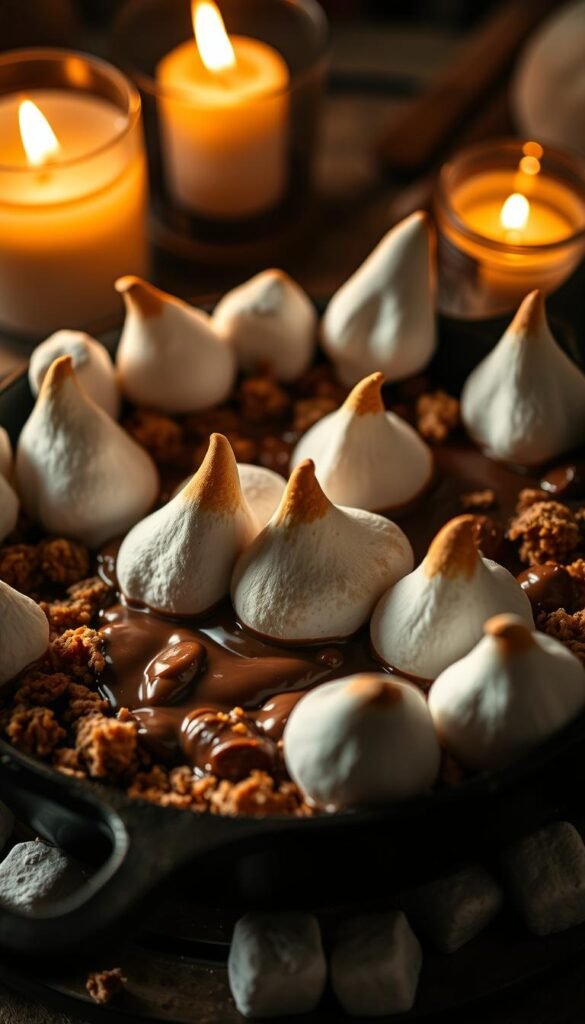
Detailed Recipe Breakdown
Start with a 12-ounce bag of semisweet chocolate chips – they melt into a velvety pool that pairs perfectly with sweet marshmallows. Arrange 12 ghost-shaped toppers in your prepared dish, leaving space for their adorable puff-up transformation during cooking!
Set your appliance to 350°F for 5-7 minutes. Watch through the basket window as those pale shapes turn golden while keeping their gooey centers. Pro tip: Press mini chips into warm marshmallows post-cooking to restore ghost faces – it’s like edible magic!
| Ingredient | Quantity | Purpose |
|---|---|---|
| Chocolate chips | 12 oz | Rich dipping base |
| Ghost marshmallows | 12 pieces | Fun textural contrast |
| Graham crackers | 14 oz box | Crunchy serving vessels |
This shareable dip serves eight but disappears faster than you’d think! I love doubling the batch when hosting – just use two oven-safe dishes side by side. The beauty? You’re literally three ingredients away from becoming the Halloween party hero!
Tips, Tricks, and Variations
Ready to take your treats to the next level? Let’s explore clever swaps and upgrades that’ll make this recipe your own! Whether you’re catering to dietary needs or craving fresh flavor twists, these ideas unlock endless possibilities.
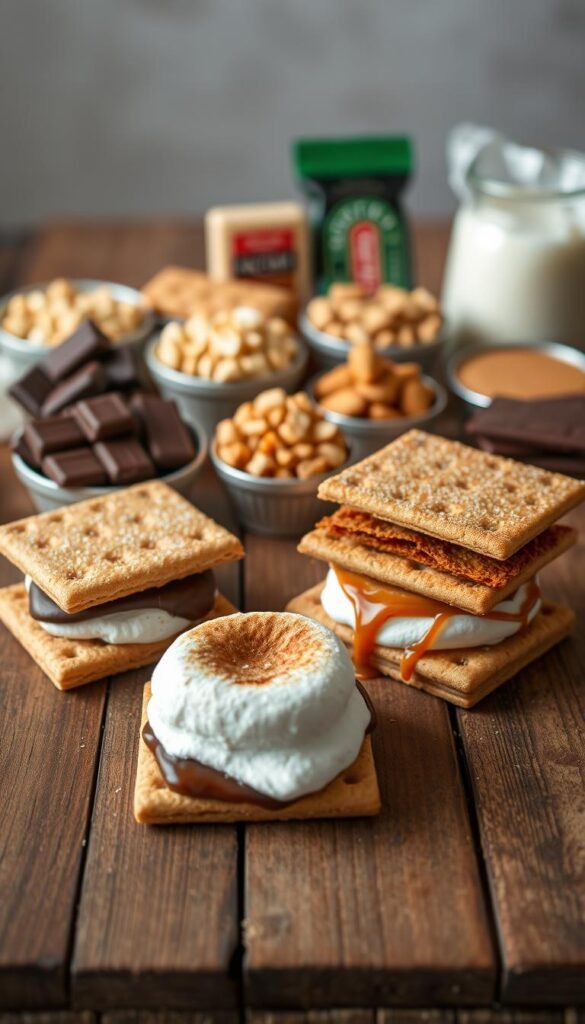
Ingredient Substitutions and Enhancements
Chocolate lovers, rejoice! Swap semi-sweet chips for milk chocolate if you prefer sweeter flavors, or go bold with dark varieties. Not a fan of ghosts? Pumpkin-shaped marshmallows add autumn charm, while monster versions bring extra spook factor.
| Chocolate Type | Best For | Melting Quality |
|---|---|---|
| Milk | Sweet tooths | Ultra-creamy |
| Dark | Sophisticated palates | Rich & velvety |
| Semi-Sweet | Balanced flavor | Perfect viscosity |
For luxuriously smooth texture, stir ¼ cup heavy cream into chips before cooking. Crumbled peanut butter cups create heavenly salty-sweet pockets when layered under marshmallows!
Creative Variations to Customize Your Treat
Break free from graham crackers! Try crunchy pretzels for salty contrast or vanilla wafers for delicate sweetness. Gingersnaps add warm spice that pairs beautifully with chocolate.
Mix in chopped candy bars or caramel squares for surprise bursts of flavor. Seasonal sprinkles or edible glitter make treats sparkle for special occasions. The secret? This recipe adapts as easily as your imagination!
Creative Serving and Dipping Ideas
Let’s transform your dessert spread into an edible masterpiece! The real magic happens when you pair that warm chocolate dip with creative accompaniments and eye-catching displays. I’ve discovered some crowd-pleasing tricks that turn simple snacks into Instagram-worthy centerpieces.
Beyond Basic Graham Crackers
While classic crackers deliver nostalgic crunch, why not mix it up? Salty pretzel rods create addictive sweet-and-savory combos. Fresh apple slices add refreshing contrast, while cinnamon-dusted pita chips bring cozy warmth. For gluten-free guests, try rice cakes or dairy-free chocolate alternatives!
Spooktacular Presentation Hacks
Grab a black serving platter and arrange dippers like bony fingers! Drizzle melted white chocolate webs around the dish. Top with orange sprinkles for pumpkin flair or edible glitter for mystical shimmer. Pro tip: Use cookie cutters to shape crackers into bats or tombstones – it’s easier than you think!
Remember, half the fun is in the dipping! Set up a build-your-own station with small bowls of toppings like crushed nuts or candy eyes. Watch guests’ faces light up as they create personalized treats. Now that’s how you make Halloween memories!





2 Comments